Contouring - The Taupe Tips
Contouring existed before the Kardashians, of course. It even existed before social media selfies ruled, but in the last decade, it is the one makeup approach that hasn't lost appeal. There's no secret that "Blend, Blend, Blend" is your mantra, because nobody wants to look like they painted stripes on their face, but equally important is your choice of shades. The idea is that you look like yourself, but better. Contouring isn't so much a "natural" look as a glamour look, but done right, it looks beautifully elegant and flattering rather than OTT.
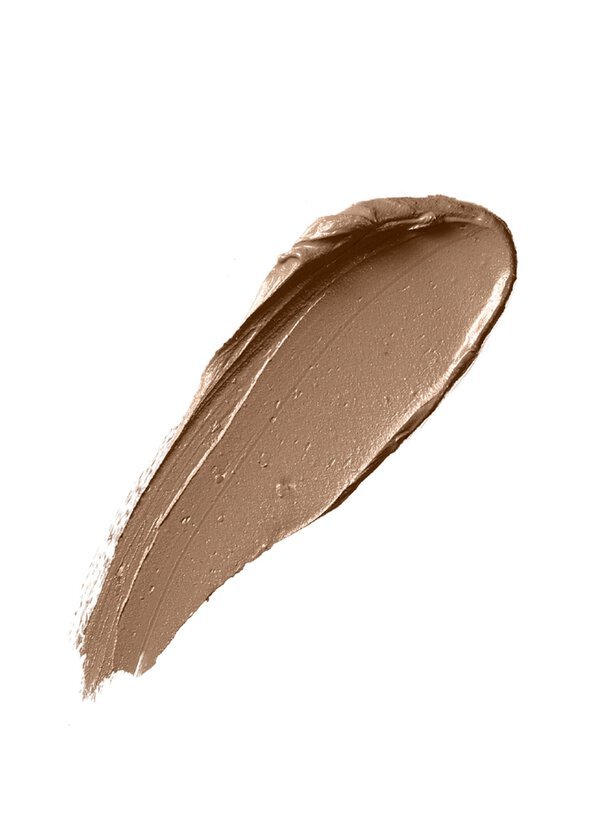
Until recently, I've spent a long time contouring with bronzer that is way too warm and orange-toned for my skin. I'm naturally very pale with light freckles and a yellow undertone. The key to contouring for light and fair skintones like mine? Taupe.
Taupe.
It's a gamechanger!
Just like when I discovered a makeup sponge for the first time during the pandemic. Flawless coverage, no hands covered in foundation, uneven application? What took me so long?
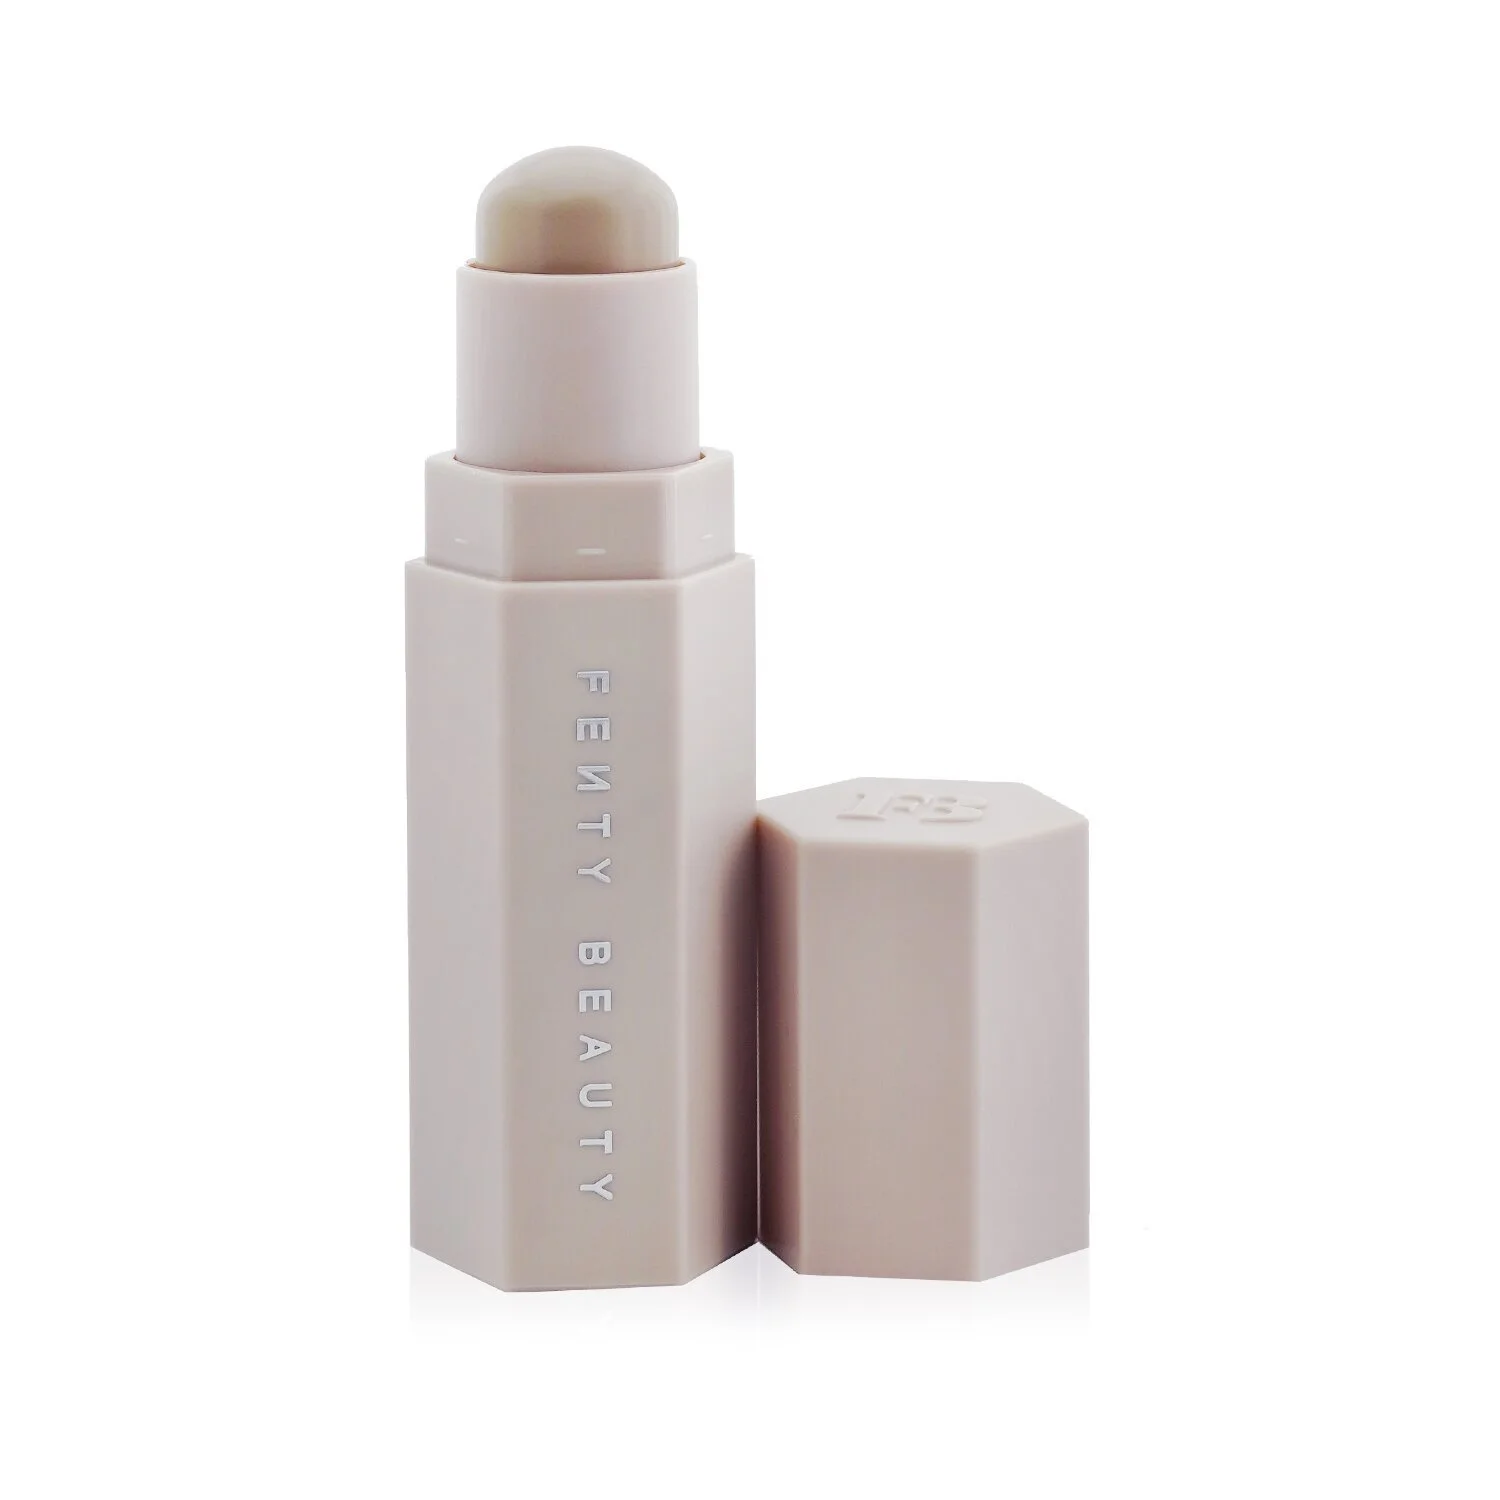
So, now you know. Use a makeup sponge and use taupe shades to contour. Which one? That will depend on your personal preference and skin type. I naturally have pretty dry skin, so I like creamy products. I use Fenty Match Stix in Amber, which is a cult favourite. You might want to try a powder, but my preference is to apply foundation, then apply the contour stick to my cheekbones (higher than you probably think! Watch the second video below to see how this lifts your whole face), around my hairline and jaw. After the contouring shade, I apply concealer under my eyes, to my nose and chin (the centre elements of the face) using Bobbi Brown concealer/corrector stick. I also love their cream concealer. Here are some video tutorials that I find really helpful. My advice? Do your foundation, get your tools together, then watch the tutorial and apply your makeup at the same time. I love Jing - check out her Tik Tok (Amber is her colour too).
Fenty Matchstix Tutorial
Cream Contouring For Beginners


